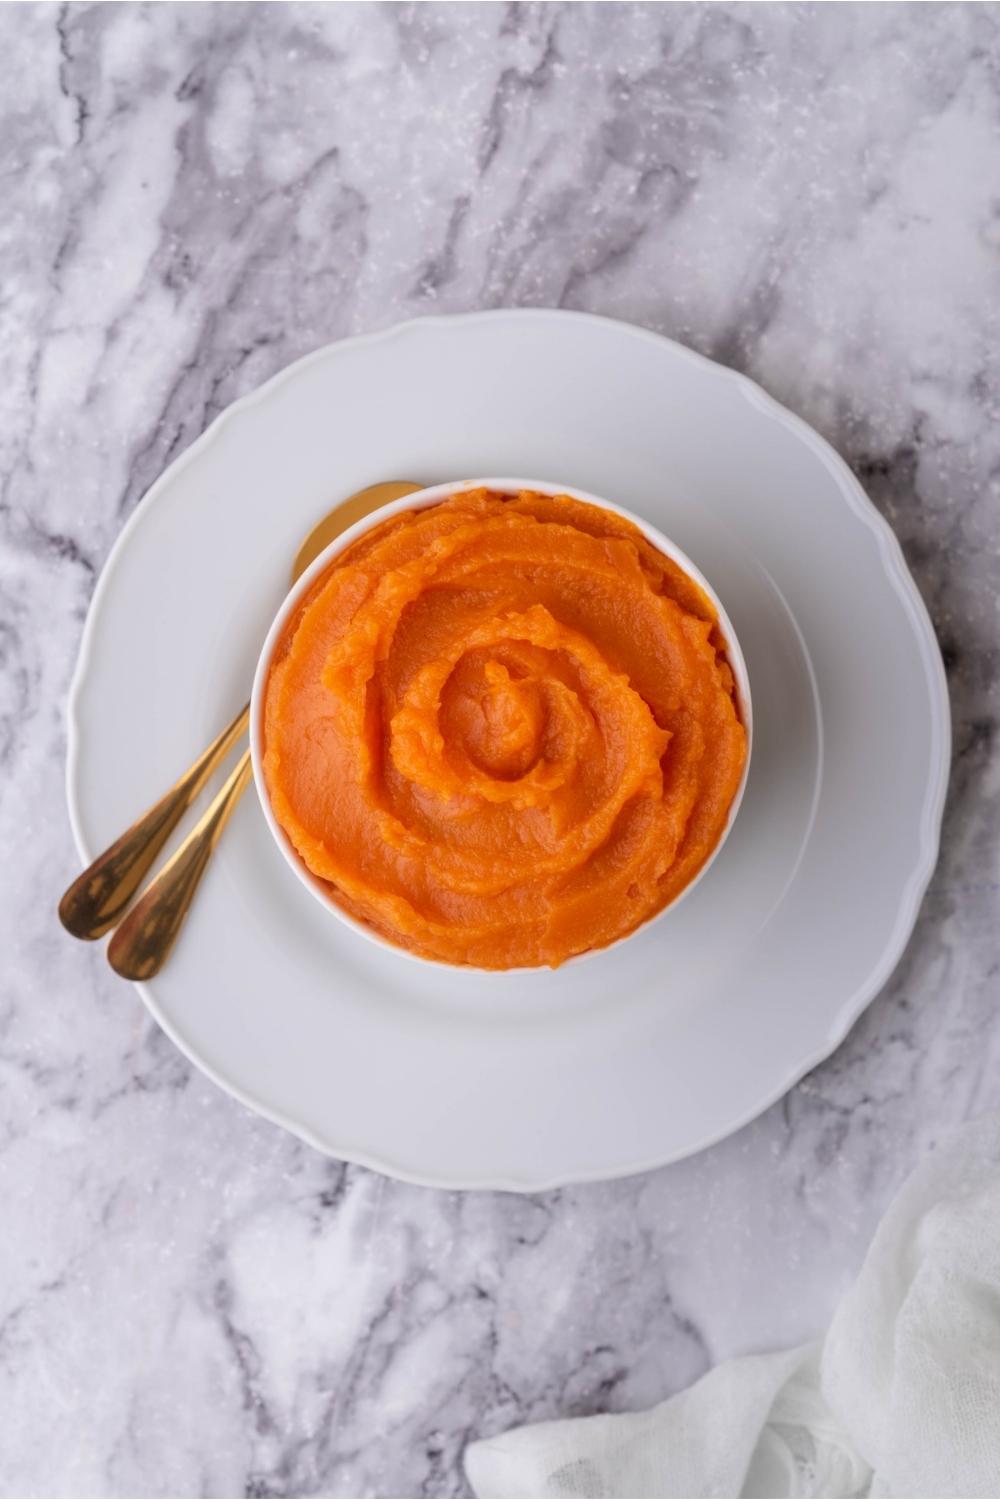
Easy Sweet Potato Puree: A Homemade Kitchen Hack That Tastes Far Superior
Transforming humble sweet potatoes into a silky, vibrant puree might sound like a task best left to the professionals or store-bought cans. But what if we told you it's one of the simplest and most rewarding kitchen hacks you could master? Making your own sweet potato puree at home is incredibly straightforward, demanding minimal effort for maximum flavor, nutrition, and versatility. Forget the bland, often additive-laden commercial versions; homemade sweet potato puree is brighter, richer, and bursting with natural sweetness. This guide will show you how to make sweet potato puree, proving that homemade truly does taste better.
Why Homemade Sweet Potato Puree is a Game Changer for Your Kitchen
The allure of sweet potato puree extends far beyond its beautiful orange hue. It's a nutritional powerhouse, packed with vitamins A and C, fiber, and antioxidants, making it a fantastic addition to almost any meal. But the real magic happens when you make it yourself. Here’s why this kitchen hack how to make sweet potato puree is superior to store-bought options:
- Unrivaled Flavor and Brightness: Commercial purees often have a duller color and a muted, sometimes metallic taste. Homemade puree, whether roasted or boiled, retains the vibrant, sun-kissed orange and delivers a naturally sweeter, richer flavor that no can can replicate. There's an unmistakable freshness that shines through.
- Pure Ingredients, No Surprises: One of the most compelling reasons to make your own is the ingredient list. It's truly just one: sweet potatoes! No added sugars, preservatives, or stabilizers. This allows you complete control over what goes into your body and gives you the freedom to season it exactly how you like, depending on its ultimate use. Discover the endless possibilities with Pure Sweet Potato Puree: One Ingredient for Endless Recipes.
- Cost-Effective and Sustainable: Buying whole sweet potatoes is typically more economical than purchasing pre-made puree, especially if you catch them in season. Plus, you reduce packaging waste, making it a win for your wallet and the planet.
- Versatility Unleashed: From baby food to gourmet side dishes, smoothies to baked goods, the possibilities are endless. Its natural sweetness and smooth texture make it an ideal base or enhancement for countless recipes.
Choosing the Perfect Sweet Potatoes for Your Puree
The foundation of any great dish is quality ingredients, and sweet potato puree is no exception. While most sweet potato varieties can be used, the widely available gold sweet potatoes (often mislabeled as yams in the US) with their brownish-orange skin and bright orange flesh are ideal for puree. Here’s what to look for when selecting them:
- Size Matters: Opt for small to medium-sized sweet potatoes. Very large ones can sometimes be starchy and less creamy. Smaller sweet potatoes tend to have a richer, smoother texture once cooked.
- Firmness and Skin Quality: They should feel firm to the touch with smooth, unblemished skin. Avoid any that have soft spots, black marks, sprouts, or cracks, as these indicate they are past their prime.
- Weight: Choose sweet potatoes that feel heavy for their size, suggesting they are full of moisture and flavor.
Remember, the goal is a naturally sweet and creamy puree, and starting with good quality sweet potatoes sets you up for success.
Your Kitchen Hack Guide: How to Make Sweet Potato Puree
This how to make sweet potato puree guide offers two primary methods: roasting and boiling. Both are incredibly simple, but they yield slightly different nuances in flavor and texture, allowing you to choose based on your preference or recipe requirements. Roasting tends to concentrate the sugars, resulting in a deeper, sweeter flavor, while boiling offers a lighter, quicker approach.
Method 1: How to Make Roasted Sweet Potato Puree (for Deeper Flavor)
Roasting sweet potatoes before pureeing caramelizes their natural sugars, imparting a richer, more intense flavor that is absolutely divine. This method is often preferred for applications where the sweet potato flavor is meant to shine, like in pies or as a standalone side dish.
- Prepare and Roast: Preheat your oven to a moderate temperature (around 400°F/200°C). Line a baking tray with parchment paper or foil for easy cleanup. Wash the sweet potatoes thoroughly. While some recipes suggest piercing the skin, for puree, we recommend cutting them in half lengthwise. Place the sweet potato halves, flesh side down, on the prepared baking tray. This helps to steam the flesh and keeps it moist.
- Bake Until Tender: Roast for approximately 40-50 minutes, or until the sweet potatoes are incredibly tender. You should be able to easily pierce them with the tip of a sharp knife or a skewer with no resistance. Cooking time will vary depending on the size and density of your sweet potatoes.
- Cool and Peel: Once cooked, remove the sweet potatoes from the oven and let them cool on the tray until they are comfortable enough to handle. The skin should then slip off quite easily. You can use a small paring knife or even your fingers to peel it away.
- Puree to Perfection: Discard the skins and transfer the warm, cooked sweet potato flesh to the bowl of a food processor or a high-powered blender. Blend until completely smooth and creamy, scraping down the sides as needed to ensure an even consistency. For an extra velvety texture, you can add a tablespoon or two of water, vegetable broth, or even milk (dairy or non-dairy) if desired, though often it's not needed.
Method 2: How to Make Boiled Sweet Potato Puree (for Quick & Light Results)
Boiling is a faster method, perfect when you're short on time or when you want a slightly lighter, less caramelized sweet potato flavor, perhaps for baby food or savory applications.
- Prep the Sweet Potatoes: Wash, peel, and trim the sweet potatoes. Cut them into roughly 1-inch (2.5 cm) uniform cubes or chunks. Uniformity is key here to ensure even cooking.
- Boil Until Tender: Place the sweet potato chunks in a large saucepan and cover them with cold water, ensuring they are fully submerged by about an inch. Bring the water to a rolling boil over medium-high heat, then reduce the heat to a simmer. Cook for about 15-20 minutes, or until the sweet potato pieces are fork-tender.
- Drain Thoroughly: This is a crucial step! Carefully drain the cooked sweet potatoes thoroughly in a colander. You want to remove as much excess water as possible to prevent a watery puree. For an even drier result, you can return the drained sweet potatoes to the warm, empty saucepan for a minute or two over low heat, gently stirring to allow any remaining moisture to evaporate.
- Puree to Smoothness: Transfer the hot, drained sweet potato chunks to a food processor, blender, or even a potato masher for a chunkier texture. Process until smooth, adding a splash of liquid (water, broth, or milk) if needed to achieve your desired consistency.
No matter which method you choose, the result is a gloriously smooth, naturally sweet puree. For a deeper dive into the nuances of each cooking style, check out Make Sweet Potato Puree: Roast or Boil for Delicious Dishes.
Beyond the Basics: Flavoring and Using Your Puree
The beauty of a pure sweet potato puree lies in its blank canvas potential. With no additives, you are the artist, free to infuse it with flavors that complement your dish.
Seasoning & Flavor Enhancements:
- Savory Enhancers: For a delightful side dish, stir in a knob of butter or a dollop of sour cream for richness. Season with sea salt and freshly ground black pepper. A pinch of freshly grated nutmeg, a dash of smoked paprika, or finely chopped fresh herbs like rosemary or thyme can elevate it beautifully. Even a touch of garlic powder or onion powder can transform it.
- Sweet Additions: If using in baking or as a sweet side, consider a sprinkle of cinnamon, pumpkin pie spice, a drizzle of maple syrup or honey, or a splash of vanilla extract. A hint of orange zest can also brighten the flavors.
- Dairy-Free Options: For a vegan puree, swap butter for olive oil or coconut oil, and use full-fat coconut milk or a plant-based cream for added richness.
Creative Ways to Use Your Homemade Sweet Potato Puree:
- Luxurious Side Dish: Serve warm as a healthier alternative to mashed potatoes, perhaps with a pecan crumble topping or toasted marshmallows for the holidays.
- Baked Goods: Substitute for pumpkin puree in muffins, quick breads, pies, or cookies. It adds moisture, natural sweetness, and a lovely color.
- Baby Food: Its smooth texture and nutrient profile make it an excellent first food for infants, free from any unwanted additives.
- Smoothies & Overnight Oats: Blend a scoop into your morning smoothie for added vitamins and creaminess, or stir it into overnight oats for a naturally sweet and filling breakfast.
- Soups & Sauces: Thicken and enrich hearty stews, chilis, or pasta sauces by stirring in a spoonful or two. It adds a subtle sweetness and depth of flavor.
- Gnocchi & Pasta: Incorporate into homemade gnocchi dough for a flavorful twist, or use as a base for a creamy, earthy pasta sauce.
Storage and Freezing Tips for Your Sweet Potato Puree
One of the best aspects of this kitchen hack sweet potato puree is that it's fantastic for meal prep! Make a larger batch and store it for future use.
- Refrigeration: Store leftover sweet potato puree in an airtight container in the refrigerator for up to 3-4 days.
- Freezing: For longer storage, freeze the puree.
- Portioning: For convenience, freeze in individual portions. Ice cube trays are perfect for small amounts (e.g., for baby food or smoothies), while larger freezer-safe bags or containers work for bigger batches.
- Method: Spoon the cooled puree into your chosen containers, leaving a little headspace if using rigid containers, as the puree may expand slightly when frozen.
- Storage Duration: Frozen sweet potato puree can last for up to 3-6 months. Thaw overnight in the refrigerator or gently reheat from frozen on the stovetop or in the microwave.
Conclusion: Embrace the Homemade Puree Revolution!
Hopefully, this guide has demystified the process and convinced you that making your own sweet potato puree is not just easy, but a genuinely rewarding kitchen hack. From its superior flavor and vibrant color to the complete control over ingredients, homemade puree triumphs over store-bought every time. So, next time you reach for a can, remember how simple it is to whip up a batch from scratch. Embrace this easy sweet potato puree recipe and elevate your cooking with a wholesome, delicious ingredient that will truly taste better than anything you buy in a store.
